Showing posts with label mini album. Show all posts

Tuesday, November 19, 2013

What's in the Match Box?

Hello,

It's Luann with the answer to the question you all are just wanting to know. What is in the Match Box that I blogged about on October 2nd.  Did you see the clue?
http://flamingoscraps.blogspot.com/2013/10/anyone-have-matchbox.html


Did you guess.....


Yep, bathroom tissue roll centers. (My husband kept asking why I was saving them!) Ever since I saw Arlene's Butterfly Kisses blog where she made a mini using them, I wanted to give it a try. BTW:  Who knew that they come in  different sizes?

I squished the rolls in half and used my bone folder to help crease the edges. I put them under a very heavy book for a few days.  I painted the outside and about a fourth of the way down on the inside using my Tim Holtz Black Soot Distressed Paint. I added a couple swipes of the Bronze and Broken China to break up the black.  Then I used a little Heidi Swapp in gold to make them sparkle. I also used Prima's Chalk Edger for added color.  Next came the grommets.  This was fun!


Then on to decorating the mini album.  Keep in mind that to fit in the match box you should use flat embellies.  Also, this is another way to use up your scraps.  I used the scraps from Theresa Collins Now & Then and Carta Bella Winter Fun for the background and journal cards.  For the embellishments I colored up Prima Wood Icons, Tim Holtz Idealology, Mod-Podge Molds, Prima Flowers, Cosmo Cricket Glitter Sheets (I used as the tabs for the pull out journal cards.), stash lace, binding tape, stash items, and charms. 


And here is the complete project! 


I know that my snow family is glad I got replaced the matches!


Until next time! 

Luann


Note:
Got the fun inspiration for my snow family from Bitz of Me blog (Suzanne Dean).


Monday, November 4, 2013

Ustream Tonight!

Hi everyone, I hope you had a great weekend.  December is right around the corner, and I know everyone is going to get BUSY!   So tonight we are starting our December Daily journals early.

I hope you can join us at 8:30 p.m. est. on Ustream.

This month we are going to feature the 25th and Pine line by Basic Grey.

http://flamingoscraps.com/product-category/basic-grey/

We decided to break this project up into sections so that we can cram as many techniques and details as possible, without feeling rushed.  Tonight's class is going to focus on making our covers, and perhaps a few embellishments. 

Then, on December 2nd, we will focus on making our embellishments and parts of our book.  Each week, I will feature my pages from the week on my blog at http://www.psychomomscrapbooks.blogspot.com  so you can follow along through the entire month of December. These blog posts will also be posted to the Flamingo Scraps Facebook page.  Don't forget to sub to both so you don't miss the weekly tutorials!

Pinkie is trying to put together a mini kit for the covers, but you can still follow along. Make sure you purchase the 25th & Pine collection so you get it before the December Class! We would love to see how your books look.

We hope to see you there!  As always, we will do our best to record for those who can't make it live. 

Tonya Gibbs
http://www.psychomomscrapbooks.blogspot.com

Thursday, October 24, 2013

Mini for Mia, Maci, their Mama and Me

Today I have used the 6 x 6 mini pad from Rondelle by Prima from my Warehouse Box available from Flamingo Scraps Pink Bird Bargain Bin. I have chosen to do a chipboard mini album from 
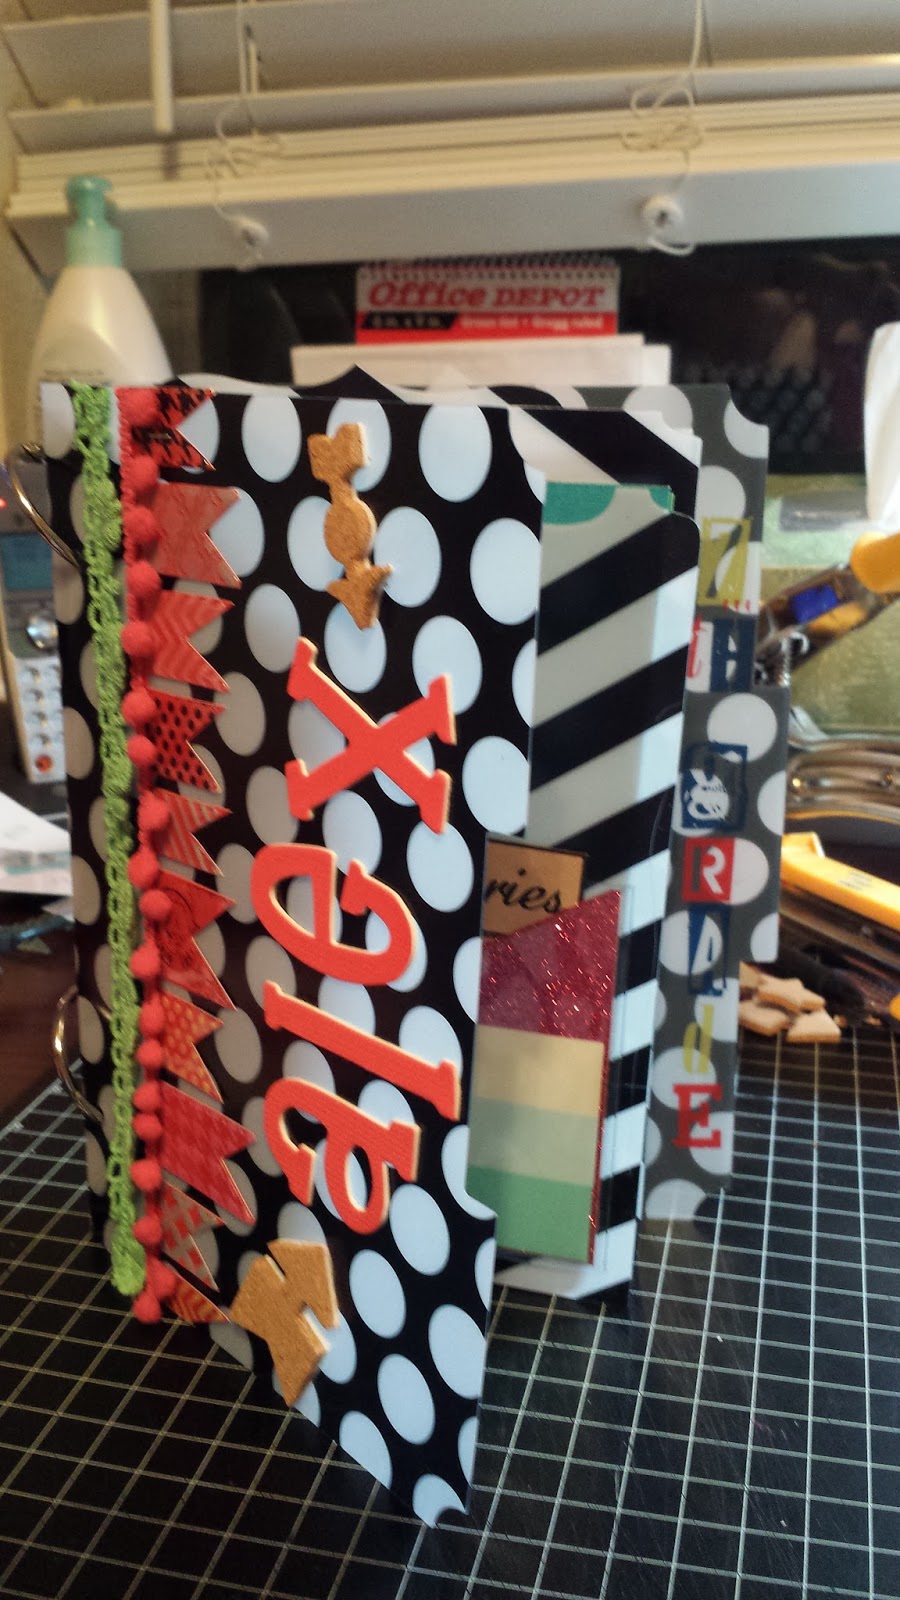
Maya Road, also in my Warehouse box. You may or may not receive the exact items, but they boxes are loaded with product and will certainly inspire you to create awesome projects! Here is the cover of the mini. Diamond paper was fussy cut around diamond shapes, Say It In Crystals, black, trimmed and added to surround Cameo Tutu embellishment (more details below for cameo and journal ticket).


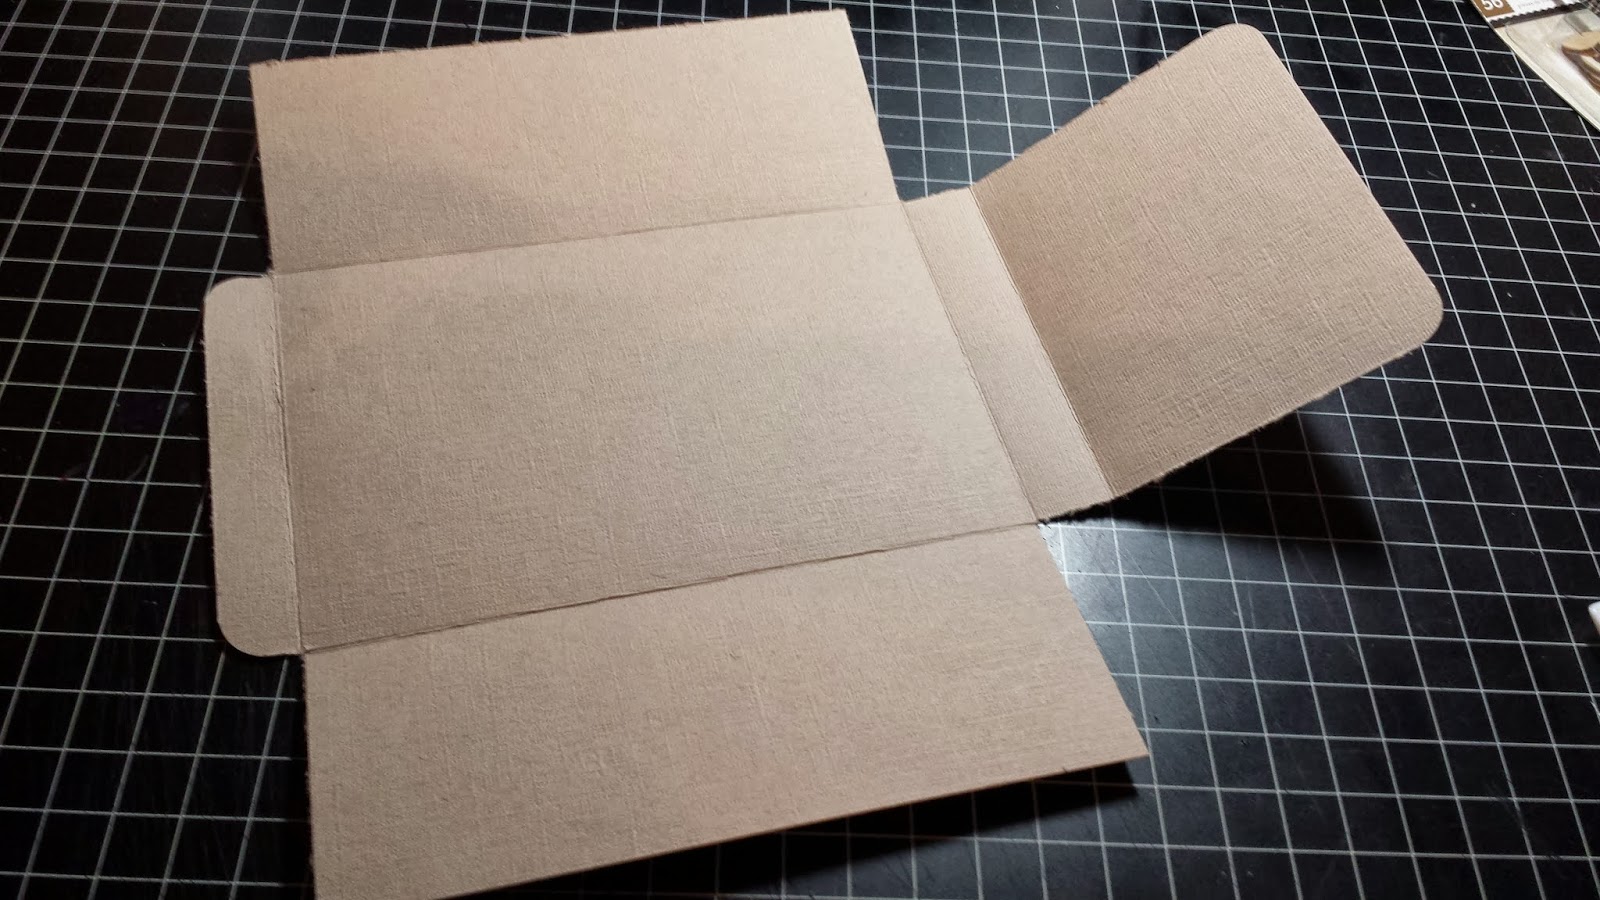
I started by painting the bare chipboard album with Tim Holtz Distress Paint in Black Soot (available through Flamingo Scraps, special order by contacting Suzanne)
I found it best to allow the paint to air dry, rather then try to help it along with a heat tool, it produces a smoother and more matte finish. I only painted the outside edges knowing I was covering the inside and outside with patterned paper.


I also painted the outside binding, and wanted to cover the rivets holding the three ring binder. I used TH Spun Sugar to paint the white flower trim. Before adhering the pink flowers, I formed a circle of Webster's Tutu trim on the binding to go under the top flower.


From a piece of vintage sheet music I cut a rectangle frame to surround the binder mechanism, glued it in place and dabbed a little more Black Soot paint to blend it to the inside cover, shown on left. 


The inside pages came next, painting with the TH Distress paints. 
L - R Forest Moss, Bundled Sage, Spun Sugar, Victorian Velvet.
The three on the left were still in the drying process, the far right had already fully dried.


Waiting for the paint to dry before adhering the patterned paper to the inside pages, I started working on the embellishments, I used a cameo from my Warehouse Box, dabbing a little Distress Paint on the raised edges to highlight the raised edges, and lightly added some lighter pink to the outer edge. left is untouched. Below is a before and after.


From my stamp stash I embossed a doily stamp on a vintage sheet music page. To mimic the shape of the doily stamp, I stretched the a square stamp into a diamond shape on an acrylic block and embossed this in black also on a piece of the Rondelle paper. (see next photo for comparison)


Stamp as is from carrier sheet.


Stamp stretched and formed to patterned paper under acrylic block.


Journaling block stamped with TH Distress Paint in Forest Moss.
As you can see, paint was on more than just the detail of the stamp, put it did not transfer to the final image.
(Tip: wash your stamp immediately, it dried very quickly when applied thinly!) This was cut out and added to the pocket on the front cover of the mini album.


Inside front cover and first page, embossed doily stamp on music sheet and inked with Tim Holtz Distress Ink, Tattered Rose.


Detail of first page. Fancy Pants Bulb Safety Pin with Tim Holtz Baubles attached to top ring of binder. Detail of embossed doily on vintage music sheet. and Webster's Tutu trim pouf. 


Piece of Webster's Tutu trim threaded through center hole on inside page, glued into place on front and back. All tulle was pulled through to the front, leaving a tail to be glued onto the back.


Inside pages of the remainder of the book, awaiting photos and additional embellishments from a recent photo shoot of two of my Granddaughter, my Daughter in Law and myself just before I moved away from them in NY. I just received the proofs via email last night, excited to get them in the mail! All papers were cut to size, corners trimmed by trimming rounded corners using chipboard as template, edges distressed and then glued into place. Tattered Rose ink used to add a little dimension to each page.


All products used have been listed in the description except stamps were taken from my stash.

Thanks so much for spending a little part of your day with the Flamingo Scraps Design Team today. We love creating for you, and we're always available to answer any questions you might have for any of us!!! Have a great day & Scrappy Smiles! Donna Sullivan aka paperfusionarts 


Tuesday, September 24, 2013

Happy Anniversary To Me!

It's hard to believe, but tomorrow I will be married for thirty-seven years. Thirty-seven wonderful years with my one and only. I met Rick when we both worked at JC Penney. Honest to God, the first time I saw him, I told one of my friends that also worked there that he was my future husband. Rick would come over to my department at the end of the evening and make small talk . One day he hung around after we closed and said "When are you going to go out with me?" and I responded "When are you going to ask me?" We had our first date at the end of Janauary. He asked me to marry him in May, and we married in September. I have had the most wonderful, blessed life with Rick. We both say our struggling years have given us our most happiest moments. I found a sign and we have it hanging in our living room. "If I had my life to do all over again, I would meet you sooner, so I could love you longer." 

When I saw the "Beautiful Life" paper collection by Laura Passage in the Flamingo Scraps online store, I knew I wanted to make a small mini album for our upcoming anniversary. I wanted to keep it simple with lots of room for pictures and journaling. I started with a 12" x 12" piece of designer paper and cut it down to 9.25" x 11". On the 9.25" width I scored it at 2.50" and 6.75". On the 11" width it is scored at 5/8", 7", and 7.75". After trimming away both two opposite ends on the 5/8" score line and removing both sides starting at the 7" score line to the ends, I rounded the corners of both opposite flaps and folded the center section together using the scored lines, and then brought the 5/8" tab up pressing firmly after applying adhesive.
The liners for the outside and inside cover measured 4" x 1/2", 3" x 4", and 4" x 6 1/8". 

For my inside pages, I used the coordinating solid card stock measuring 12" x 12".  I trimmed five of these to 7" x 9.25" and then scored them on the 9.25" width 2.50", and 6.75". On the 7" width at the 5/8". My liners measured 4" x 6 1/8" and followed the same instructions as the cover.

 Once assembled I used a 1 3/8" circle punch and cut a half circle out from each page for each 4" x 6" mat that was inserted into each pocket.


I inked the edges on all of the liners and mats. On each mat I used a small double hole punch and tied a bow using several pieces from the seam binding sampler. I then used my Bind It All and bound the mini with a brown coil.


I used the plentiful supply of coordinating stickers to decorate the mini using mount tape and then one magnetic closure for the cover.


This was a very easy, non fussy, non complicated, but sweet album to make. The papers were so pretty that other than inking the edges using my favorite Prima Dark Rust chalk ink, the seam binding, the coordinating stickers,  the Heidi Swapp Banners, and Fancy Pants Cork Hearts the paper collection spoke for itself.

I hope you have enjoyed visiting the Flamingo Scraps blog today. While you are here, please subscribe by email. I would also ask that you "like" their Facebook page click here, or if you are interested in buying this paper collection, or anything I used to make this mini, you can find it here in the store.
HAPPY SCRAPPIN!
 Cheryl

Monday, September 16, 2013

Smash Book For Alex

My oldest Grandbaby will be thirteen on the nineteenth of September and we are having her party on Saturday.  She is so excited about finally being a teenager! When I received my monthly kit from Flamingo Scraps, I was tickled to see the Heidi Swapp Memory Files, coordinating pockets and banners included. With smash books being so popular right now, I knew I wanted to make some type of fun memory book for Alex.

I started off with the largest folder file and cut it in two and then into four 5.5" x 7.5" pieces.

I took some bright cardstock and loose leaf paper and cut them all into 5.25" x 7.25" pieces


Using the smallest folder I punched two holes along both ends of the folder. Using this as a template, I proceded to punch a hole in all of the papers and inserted two ring binders to hold the book together.


From there I used the Heidi Swapp four pocket pouches, lined them with Cosmo Cricket Glitter Sheets, inserted a couple of the Maya Road Kraft Library Cards, and attached them to each of the four cut down folders.


On the cover I used two ribbons from our monthly kit. One was attached along the top edge of the banner and the other just above the banner and I secured everything with staples on both ends.


I then added some random rub-ons to say "7th Grade" along the tabbed edge,


some Fancy Pants Cork Arrows, and some older pink chipboard alphabets to add her name to the cover.


In the end I was happy with this project. I think Alex will just love it. She loves to scrapbook too and I can imagine she will be in my scrap room personalizing this book after her party.


If you would like to follow the Flamingo Scraps Facebook page, please click here, if you would like to follow their blog, please click here, and if you would like to purchase any of the supplies I used for this book, please go to their online store here.

Enjoy and "Happy Scrappin"


Related Posts with Thumbnails