Showing posts with label fancy pants. Show all posts

Tuesday, December 31, 2013

All Partied Out, but my Warehouse Box is Still Half Full!

Good morning, Flock.   I hope this post finds you all recovering nicely from a wonderful Christmas, and ready to rock 2014!

I have a simple layout to share with you today, full of paper and embellishments from my Flamingo Scraps Combination Warehouse Box.  Did you know that these boxes contain paper and embellishments valued at $150 or more AND are currently on sale for $45 EACH?  These medium flat rate boxes are stuffed to the gills and full of all kinds of amazing stuff!

 
I worked with my staple techniques--a bit of misting & dripping on the background paper (all Pink Paislee, Remarkable), inking the edges of some of the papers, a bit of chalk ink on the Pink Paislee Artisan Elements, some fussy cutting, and lots of layering.
 
To top it off, I added a couple of Fancy Pants Cork Shapes and doodled around the border.
 
Thanks for looking, and I wish you all a wonderful and SAFE New Year's Celebration!

Thursday, December 26, 2013

Cosmo Cricket Project Hanger - Maya Road Mini Album Valentine Ideas Product Reviews

Hi everyone! Hope you all survived the holidays in one piece. With Christmas behind us and a new year ahead, I thought I'd get ahead of my scrapping game and start on my Valentine Day projects. I plan on making a mini albums using the Maya Road Chipboard Scalloped Mini Album kits. But, since everything with me is a "process", I wanted to look at my pages and display them before putting them into the album. What better way than hanging them from the Cosmo Cricket Project Hanger ?


I love this item. I didn't realize just how big it was, and was thrilled at the size. So many things I can use it for that don't even apply to scrapping. I can see this being used with pics for grandparents or a Mother's Day gift as well. I covered the CB mini album pages, both sides, with paper from my stash. The scalloped heart in the middle, which is one of the album covers, is painted with Tim Holtz paint and can be special ordered by contacting Suzanne. If you haven't discovered these great paints, make them one of your new year resolutions. They rock! The wooden phrase, "Best Day Ever", is from the Fancy Pants Artist Edition and is also painted with TH. I had some blue tulle in my stash from a Websters Pages kit and tied it on the hook, just because I could. The albums will be featuring my grandsons, Gabriel and Ethan, so blue was fitting. As I make the pages, I will hang them for viewing, then proceed to putting them into an album.


AS you can see, this hanger has great size to it. I'm pretty sure that by the time I finish this post that I'll be heading back to my fave LSS, Flamingo Scraps to get a couple more of these so I can display a new page project each month, or Gabe's art work. This is a quick and easy project that looks awesome and is even better to receive.

Be sure to stay tuned for the completion of this adorable mini album. I don't usually make them, but I'm pretty excited over this and can't wait to see the finished project.

This Friday is our last F4 (Flamingo Four) post of 2013 so be sure to check that out. Let's not forget Tonya Gibbs and her ever inspirational Ustream  tutorials on the first Monday of each month at 8:30 p.m.EST.

To all of our Flock Followers, have a safe, happy, and healthy 2014 !!!

Kathleen

Friday, December 20, 2013

Ornament Duo

Here how to make these wonderful clear plastic ornaments in to a handmade work of art for you tree.


 The first thing you need is a clear glass or plastic ornament, then you let your imagination soar about what you create, fill, wrap, or decorate it with.


Bottle Brush Tree Ornament

In this tree I used the super cute bottle brush trees from Fancy Pants and some wonderful flowers from Prima.


First you add a tiny blob (yes that is an official term, hehe) of fast drying clear glue (like ZipDry) to the bottom of each tree and place them into the ball.  I used tweezers to help place the tree.  The trick is to let one tree dry and hold fast before adding in the second tree or anything else in the ball or they just fall over.  patience is key here.


 Now that your trees are dry I added in a bit of angel dust with make it look like the were nesteld in snow (it is like thick glitter or even glitter would work).


The I created a cluster of flowers from Prima from the wonderful Warehouse Boxes that Flamingo Scraps is offering (on sale too) and wrapped it around the top of the ball.  I then added the top hook of the ball back on (I glued it so it would not pop off and glitter would get everywhere), added a bow to cover up the topper, and strung up the top with a silver ribbon to hang on my tree.


Embellishment Ornament

Here I stayed with a single color of blue (in various hues) and created a ball of wonder, a fun little search and find ball for my kids full of odd bits and pieces from my scrapbook stash (left over from the Flamingo Scraps warehouse boxes).


Here is the stash of items I used to fill the ball.  I used buttons, flowers, charms, sequins, plastic bits and bobs, petals, and other fun items that would fit into the ball from left over projects and from Warehouse box items.


Here you an see the flower cluster I made prior to attaching it to the ball.  I took little flower buds on wire and threaded larger flowers under it.  I then took the wire stem and wrapped it around the top of the ball to secure it.


I then took ribbon and wrapped the top to cover the wire stems from the flower.  Then attached the ornament topper, added ribbon to string it up, and poof you have a wonderful search and find ornament ball.


Here you can see even more goodies, and as you shake it more items appear!


Supplies used can be found at Flamingo Scraps
Ornament ball
Flowers - Prima and other
Ribbon -Websters
Bottle Brush Trees - Fancy Pants
Embellishments  -Flamingo Scraps

Enjoy!

Monday, December 9, 2013

Baby in Fancy Pants

Hiya Flock, Genie here.  I've got another blast-from-the-past layout for you today.
This little cutie is now 10 years old, and about 4" shorter than moi.  She's still that cute, though.  ;)
I started with a sheet of kraft paper.  I love the Fancy Pants Corrugated Paper, and decided to play with its texture a bit more by ripping it.  LOVE!  I have really been into layering lately, and used a few sheets from the Fancy Pants Collecting Moments 6x6 Paper Pad and the coordinating Brag Pad.  I kept on with my ripping theme for one of the lower layer pieces.  I liked how the color tied in with the ripped corrugated (see how I did that?)  ;)  All of the unripped paper edges were inked with a medium gray chalk pad.

(omg.  Would you look at that baby face??)
I add some wood embellishments from Prima, Maya Road, Cosmo Cricket, and some teeny stars from my stash.  I completed the layout with a gorgeous oval frame (Webster's Pages, something you might find in a Flamingo Scraps Combination or Embellishment Warehouse Box!) and some Thickers from my stash.
Thanks for looking, and I'll see you next time!

Wednesday, December 4, 2013

Echo Park "Merry Christmas" Cracker Treat Box


Hi Cheryl here. Today I am taking a break from making Christmas cards and thought I would work on some gifts for my Grands to give to their classmates and teachers. Today I am going back to one of my favorite Christmas collections. It is "Merry Christmas" from Echo Park. I just LOVE these papers. I bought the complete collection during the summer and then was lucky enough to receive a kit from Flamingo Scraps this fall for our winter projects. This is one paper collection that I will never tire of. Beautiful, bright patterns and my favorite green, red, and brown colors for Christmas.

For my project I decided to make a cracker treat box. These are so cute and hold a lot of candy for the young ones or for us big kids maybe a nice piece of jewelry!  I used my "We Are Memory Keepers Envelope Punch Board" and it really did all of the work for me!


These are currently on sale at Flamingo Scraps for only $14.99!!!!!  I just had to cut the paper, tie the ends with ribbon, and then used two trees from the Fancy Pants Tiny Bottlebrush Traditional Trees as an embellishment . These are just adorable when completed and I think everyone will enjoy receiving theirs. I hope you enjoyed my project for today. I won't bore you with the measurements and details on how this was made, but if you are interested you may go to my blog for all of the details!


Thank you for stopping by the Flamingo Scraps Blog. Don't forget you can "like" their Facebook page here, and find everything I used today in their online store here.

Happy Scrappin............Cheryl

Tuesday, December 3, 2013

Merry Christmas Layout

Last December, my friend took these wonderful pictures of my boys (plus some of me, my mom, and my daughter) when they were a week away from being 3 and 7 years old.  I just fell in love with the head shots of both boys, but could never find the inspiration to create a layout with them, until now!!


Putting pictures in Polaroid frames is huge right now, so I could not resist playing around with the idea and with the Maya Road frames.  My pictures were not the correct size, so I added a paper border inside and then added their names below.  I also wanted to try out my new circle punch (it made the doilies behind the pictures).  I then added in my own layers and clusters for lots of dimension and fun.  You can also see Heidi Swapp's file folder tucked in the layers!!


Here you can see some twine looped around to make a fun flourish behind the Prima flowers.  I then added in a fun charm, which is all stacked up on top of Fancy Pants chipboard, and Basic Grey 25th and Pine die cuts and paper.


Here you can see some I stamped on the May Road Chipboard  after painting it.   You can see Cosmo Cricket wood stars, Prima lace,  and some of my paint splatters and circle marks I made with Heidi Swapp Mists (here is a link to the tutorial on how I make them).

Supplies can be found at Flamingo Scraps - head on over to see them, lots of great sales to be had!!

Supplies used


Wednesday, November 27, 2013

Getting into the Holiday Spirit

Happy Hanukkah!

It's Luann in the frigid south Texas!  The cold is putting everyone in the Holiday Spirit and I hope the cold (30's & 40's) stays around 'till Christmas.

Being in the Holiday Spirit myself, I thought I would share with you a couple of Holiday ornaments.  Since it is Hanukkah, I found a dreidel that I could make out of paper.  I used the Carta Bella Winter Fun and Echo Park Paper Merry Christmas.  This would be a great project to do with kids and a way to use up some scraps.


I love decorating for Christmas (I wait until after Thanksgiving, though).  I also love to make ornaments to add to my tree and give away.  I used the plastic flat ornament for these.  The first one I started out with Marion Smith's Tea Party and fussy cut the roses and clock.  Then I layered using Prima wood embellishments, bling, and flowers.  I threw in a Tim Holtz key, May Road Star Trinket and stash ribbon.


The second ornament I used a clip art picture of Santa.  I Modge Podge the picture to cardboard.  I used the Antique Matte Modge Podge to help give the aged look.  The little tree is from Fancy Pants. Isn't it the cutest? Heidi Swapp Believe Ephemera helps with the layering. Vintage (since it's been in my stash for a while) Webster' Pages Christmas charm and ribbon add just the right touch.  I sprayed the cotton lace with Heidi Swapp Color Shine to match the Fancy Pants tree.


Ohhhh.....I forgot to mention.  Don't forget to decorate the inside.  I used some netting scraps, glitter, and sequins.  FYI:  Do not use your hot glue gun on the plastic ornaments.  I learned the hard way.


Wishing you a fantastic Thanksgiving and a safe one.  Now I'm off to get some hot cocoa to warm up.

Until next time....

Luann

Monday, November 18, 2013

Fancy Pants Corrugate Paper Product Review

I recently got to play around with some of the Corrugate Paper from Fancy Pants, and compared to cardboard this won hands down!!

In the pack you receive 6 12x12 sheets in colors as seen below.

http://flamingoscraps.com/shop/
 The colors are fantastic, they cut through my cutter with ease, and look wonderful on all kinds of paper projects!!  You could use these papers as is, or use paint, mist, ink, or other mediums to dress them up.  There are just so many uses for these papers!!

 Here you can see how you can tear or cut the paper (pictured in grey), one side is torn and the other was cut using a Fiskars blade cutter.


Here I played with the ridges of the paper and Heidi Swapp Color Shine mists to see how well it would hold color.  It worked beautifully.  It retained the color with only have to spray it once.


Here I took the same misted corrugate paper and inked the tops of the ridges with dark brown to create a contrast, and it turned out very cool.  Now I can't wait to try this sheet out on a project!!  Come back soon to see what I did with it!!


You can find this product plus many more over at Flamingo Scraps.  

Enjoy!!

http://scraps-of-reflections.blogspot.com/

Wednesday, November 13, 2013

Fun uses of wood - Life is Good - layout

My sweet son Morgan started off 2rd grade two weeks late and at a completely new school (as we just moved).  He started off a bit rough, but he is now loving his new school, has great friends, and never even asks about his old school or house any more. Doesn't this kid take great pictures? I know I am a bit biased as his mom. Hehe.


I used the wonderful kit Hey Kid from Pink Paislee for the stickers and patterned paper, plus some other fun little bits and bobs. I used lots of ink and mists from Prima and Heidi Swapp to create the ring marks, spots, splatters, and sprays.  It just gives your layout such great dimension by adding in some great texture. 


Don't you just love this Fancy Pants wood title - it works with so many projects!!  I even took a Prima dot stamp with some Prima ink in light brown to give it texture.  I also used other little bits of wood items (stars and arrows) from Cosmo Cricket.  Plus you can see a little of the Corrugate paper from Fancy pants in grey peaking out!

You can find most of these supplies used for this project at Flamingo Scraps!!  Plus don't forget about the awesome warehouse box sale going on, tons of goodies stuffed into shipping boxes for a great low price - make a great present!!

Supplies Used
Cardstock -American Crafts
Patterned Paper - Pink Paislee
Corrugate Paper - Fancy Pants
Stickers - Pink Pasilee
Die cuts - Pink Pasilee
Mists - Heidi Swapp
Ink - Prima
Wood - Fancy Pants and Cosmo Cricket
Twine - other
Metal/Staples - Tim Holtz
Punch - Martha Stewart
Stamps - Prima and EK

Enjoy!!

Monday, November 11, 2013

Using Leftovers

Hi guys...this is Cheryl. I am sitting here sorting through, and organizing, my leftovers of paper collections and embellishments received from Flamingo Scraps, slowly trying to go through my scrapbook room and get my beloved papers in order to make my life easier when scrapping. Of course, for me, it is the "putting back" that is the main issue. As I was going through my goodies I noticed I had several nice bits and pieces of the Echo Park 
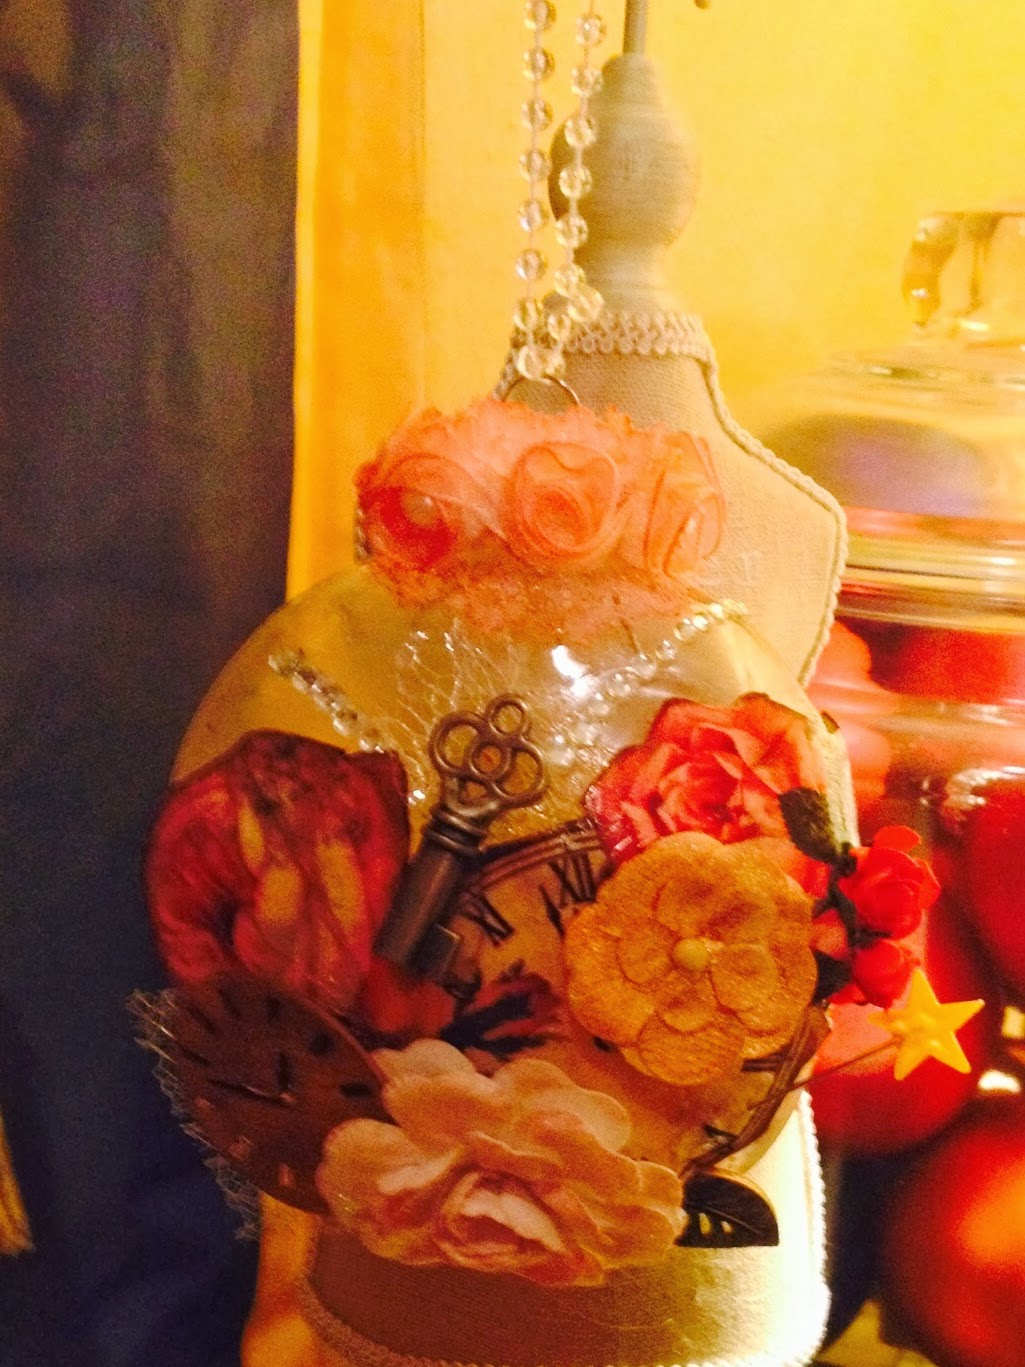
Beautiful Life paper collection left from my last project. This inspired me to look for a smaller scaled project to use the rest of these pieces. I decided to attempt to make what is called a "sour cream" container. There are tons of YouTube videos out there on how to make these. I actually didn't think about looking for one prior to making mine, but afterwards I did look and found this nice one. Her dimensions and techniques are somewhat different from mine, but different strokes for different folks! That is the beauty and fun of scrapbooking. There are no rules. Just lots of sweet crafters to share their love and methods of scrapbooking.

To start off I looked through my scraps to find any papers left that could be cut down to 4.50" x 6".


From there I added Scor-tape along just one of the 4.50" edges and on both edges of the 6" sides.


I removed the backing of the adhesive from just one 6" length and from the top edge and rolled the paper up into what looked like a small tube.


From there I flattened one end of the tube, filled it with treats and then on the other edge I closed the opening in the opposite direction of what the other end was. I used my scoring tool and scored three lines on both ends. It now looks like a cute take out sour cream container! From there I punched a small hole and added a 10" piece of the Fancy Pants Seam Binding Collection in various colors to the top and then used a cute stamp and punch from my stash, inked them using Prima's dark rust chalk ink, and added them to the front of each treat container.


Just a really quick, fun way to use up those scraps that would end up being forgotten or thrown away.


As always thank you for visiting my blog. If you would like to visit the Flamingo Scraps Blog, please click here. If you would like to buy any of the papers or inks I used today, please visit the Flamingo Scraps online store here, and to like their Facebook page please click here.

Happy Scrappin! ......Cheryl

Friday, November 8, 2013

It's Beginning To Look A Lot Like Christmas!

Hi this is Cheryl. I am sitting here typing while looking out the window. It is a beautiful fall Texas day. Nice and sunny. Not too hot or too cold. Just right for open windows and a nice cool breeze to blow through the house. I made a pot of chilli this morning and it has been simmering on the stove all day. We all need to enjoy these autumn temperatures. Ol' man winter will soon be upon us.  All of our treasured fall decorations will be taken down this month and we will be soon decorating for  Christmas. I love this time of year and I love making my own cards typically in November and scrapbooking my families Christmas memories at a winter retreat in January.


Today for my project for Flamingo Scraps, I thought I would do a Christmas page. I can never have too many premade pages for all of the pictures we take each year. To start off I used a white 12" x 12" base, layered with a 11" x 11" piece of black card stock. I then added a small 6.50" x 10.75" piece of red card stock. I also used a snowflake border punch along two sides of this and added a double photo matt on the bottom that measures 3.25" x 10" and a Heidi Swapp paper frame.


Using ribbon from my stash, I tied a simple knot bow on the bottom of the red card stock and cut two trees from the Fancy Pants Corrugated Paper Collection and adhered these over the ribbon.


 I also added a journaling strip and die cut from the Echo Park Merry Christmas collection. From there I added a few Christmas diecuts and images on the page. Also, I saved the snowflake negative pieces and used these to decorate my trees and added four photo corners to the edges of my base layer. A simple, but sweet Christmas page to add pictures to later.


I hope you have enjoyed my project for today and that I have inspired you to get started on your Christmas pages.  As always I thank you for visiting the Flamingo Scraps Blog. If you would like to check out the online Flamingo Scraps store, please click here to get started shopping!

Happy Scrappin! .........Cheryl

Thursday, November 7, 2013

Playing with Patterns

For today's project I have chosen to create a Heidi Swapp 12 x 12 layout with her Serendipity collection. The photos are of Leila's first birthday, my youngest granddaughter.


There are so many fun patterns in this Collection, I challenged myself to use as many as I could combine. Embellishments are also available in super fun "polaroid" type frames, and other fun photo stacks, with coordinating patterns and epoxy words, "sweet" and "so sweet" are two shown in the photo below, you may find them in your Warehouse Sale - Combination Box!!! I added a binder clip with a small snippet of ribbon from my stash. The cork shaped, adhesive back arrow is from a Fancy Pants assortment pack of sizes and shapes. It has been painted with Tim Holtz Distress Paints, Broken China (available through a special order you can place right here with Suzanne from Flamingo Scraps) and faux stitched with a permanent black marker, and an epoxy sticker glued to the top. Leila's name is die cut letters, painted with the Distress Paint, Picked Raspberry


Below, I used a frame sideways, after cropping out the balloons in her photo, I added heart shaped "balloons" with an assortment of hearts from the Fancy Pants hearts and stars. The cork shapes were first painted with Tim Holtz Distress Paints (Broken China, Mustard Seed, and Picked Raspberry. Remember, to ask Suzanne from Flamingo Scraps to special order just for you!) The paints covered the cork shapes in just one quick coat, faux stitched with a permanent fine line marker, adding an epoxy butterfly sticker to the largest one. 


To keep the frame and the cork stickers the same height, first I carved a little section out of the adhesive foam behind the heart (see photo below) and inserted the end of the painted twine into each heart. On the back of the frame I glued strips of the twine to raise the frame and I tucked the opposite end of the twine underneath to resemble balloon strings. This kept all the elements for this photo at the same height and reduced the bulk on the page.


Her invitation was a perfect match with the papers. I decided to include that also. It was a single card that did not open. I added a piece of the pink paper from the Serendipity paper pack, and fussy cut around it, when closed it does not show. I will journal my thoughts for Leila inside this card.


Thanks for looking and sharing your day with the Flock! 

Scrappy Smiles!


8 )
Donna Sullivan 
Related Posts with Thumbnails