Tuesday, April 30, 2013

A She Canvas

Hello Flockinistas!

Melissa, here, with my latest and greatest project! I've been DYING to try my hand at some She art, and I've finally taken the plunge and give it a try. First, I decided that I wanted to make a 12x12 canvas and prepped it with regular body gesso. Then, I decided I wanted to add some additional texture, and used thick body gesso in a few spots and used a Lego (from my kids' toy bin) to a few random spots.


Finally, I had to prepare a base, and used Heidi Swapp Color Shine in teal and chartreuse to start. Then, I used Tim Holtz Distress Paint in Broken China, Peeled Paint, Forest Moss, and Picket Fence to add some fun variation with masks and distress stamps.


I used the Christy Tomlinson She Art line by Pink Paislee, specifically the 6x6 paper pad, the cardstock accents, the paper doll tissue paper, and the rub on doilies, then layered on a resin frame and blue bird by Websters Pages, then used a key charm by Websters Pages to go with my "She holds the key to many futures" phrase. To make the rays of the sun, I cut up a cream ruffled bloomers by Websters Pages... I really love how that turned out!


I'm pretty sure this won't be my last She art canvas, especially now that there is product out there to make it easier! This girl, though, is going to be a gift for my son's teacher on Teacher Appreciation Day (I thought the phrase would fit especially well for that, no?)


So there you go! I hope that this post provided you with inspiration of your own to make a She art canvas or a page for your book.

Until next time!
Melissa

Friday, April 26, 2013

April Flamingo Four

It's time for another Flamingo Four!  This month, three other designers and I worked with these products:


                   1) Pink Paislee 'Parisian Anthology' Corrugated Alphabet
                   2) Prima Raja Sequin
                   3) Maya Road Kraft Mini Calendar
                   4) Graphic 45 Metal Clothespin

This is my 7th time doing the Flamingo Four and I am definitely used to working with challenging items.  But my fellow designers and I agree that the metal clothespin in this month's Flamingo Four has been the most difficult item to date by far.  Let's see what everyone made using these tricky items!


Alicia's Take

I was really stumped on how to bring these items together (especially that clothes pin... man is that thing solid!)  But the sequin centers reminded me of the hand-beaded flowers that my husband's Aunt Carol made for my wedding bouquet, so I thought I would put together a little frame with our last name, and one of the little calendars with our anniversary circled to help my husband remember the important date.  I used some inks and colored the letters and arranged them on some cardstock to fit the frame.  I then added the sequin centers as accents to the letters and nestled that calendar in.  Because of the heft of the clothes pin, I just adhered it into the corner so the frame itself could help support it, with the sentiment "Remember" facing outward.


Ramona's Take

This set of items was extremely hard for me.  I knew I wanted to make something about how the months roll past so quickly, so I made a canvas with the months flying.  After going from dark to light, I needed to brighten it up, so threw on some purple Tattered Angels…still not bright enough…Tim Holtz Seeded Preserves Distress Paint….then some distress ink….nope…that did not do it.  I picked the brightest turquoise I could find, and using a stencil just started dabbing paint. Then I thought, "What if I outlined it with a black sharpie?"  That was the look I was trying to achieve in the first place.   I am thankful that Suzanne pushes us with the Flamingo Four… because this one did push me to my limits!

Here's a closer look:


How did it get so late so soon?
It's night before it's afternoon.
December is here before it's June.
My goodness how the time has flewn.
How did it get so late so soon?
― Dr. Seuss


Erin's Take

My son Brandon is three, and three is hard.  I'm not sure why they call it the terrible twos since three is worse.  Brandon's life changed a lot at three: he got a new sister and Daddy is in Afghanistan.  That is a lot for a little guy to deal with... or, should I say for Mommy to deal with!

The picture was taken at a Chuck E. Cheese photo booth, and I thought it was just too cool to not do something with it.  I created this layout to remind me of how chaotic his life (and our whole family) is at age three.


I used all the supplies given to us, including the packaging.  Here you can see them in their final form up close.  I used the monthly cards and cut out letters to create the new words of his name and of his life.  I used the box, string, and alpha chipboard (in 2 ways) for background, texture, and for the word three.  The sequin gems were used for texture and the metal clip was used as an addition to the words to describe my son.


Cindy's Take

Right away, I knew that the clothespin would be the hardest item for me, so I did some experimentation.  If I put paper over it, could I do a rubbing and get a decent print of the engraved word?  Nope.  If I inked the clothespin and treated it like a stamp, would the word show?  Nope. What would happen if I took the clothespin apart? Hmmm....

While I mulled over possibilities with the clothespin, I got right to work with the rest of the supplies.  I decided that I was going to use the packaging from the alphabet as the base of my project.  The clear window would be perfect for a picture, so I printed out one of my new niece, Allison and inserted it behind the window.  The box would be ideal for holding those little momentos that don't fit in a photo album, like her hospital bracelet.  

Next, I chose one of the round calendar shapes, then punched a circle from black cardstock.  I selected an A from the corrugated letters, covered it with lavender ink, and then brushed gold ink over the top.  I pulled out two of the sequins.

When I layered them all together, it looked like this.  

 
Here's the finished project:

 
Did you notice the clothespin?  I ended up dividing the two halves and gluing them toward the bottom of the box.  With the weight cut in half, the pieces weren't too heavy for glue to hold.  


That wraps up another fun Flamingo Four! We'd love to see your take. If you make something using the same four supplies as our designers, send us a picture and we'll feature it here on the blog. To find the materials we used (and so much more!) visit the Flamingo Scraps store!


Wednesday, April 24, 2013

I "Heart" You

At 4 months old we had some wonderful pictures taken of the kids, myself and and mom.  This little gem came out of it of Catherine.  She looks like she is just staring right at you, piercing you with her gaze.  Such a sweet precious baby girl.


I am really loving the mixed media/grunge/steam punk feel of scrapbooking lately.  I love the layers and texture it all brings, and if you do it just the right way it does not take away from the picture(s) you are placing on your layout.  The other part I love about these types of layouts is it give me a chance to use bits and pieces of found items, partially used embellishments, and other fun trinkets I have stashed away in my scrap room.

I used a mixture of the Prima Engraver papers and stickers plus also the Pink Paislee Secret Crush papers/tabs/stickers/cards.


You can find almost all the items I used at Flamingo Scraps Store.  So pop on over and take a look!!

Supplies Used
Cardstock
Punches
Stamp
Adhesive

Enjoy!!

Erin Reed

Monday, April 22, 2013

Carta Bella Travel Journal

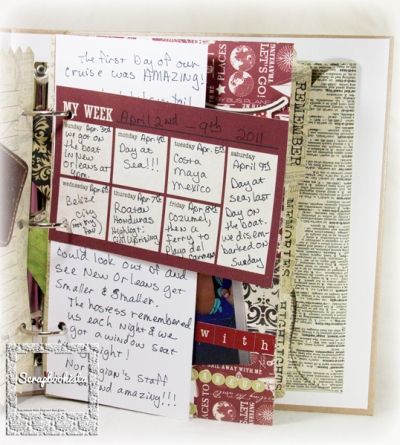
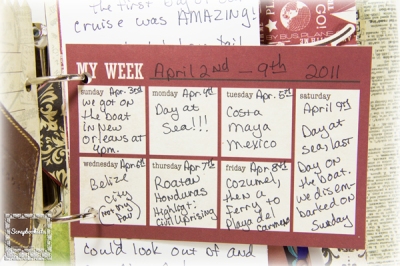
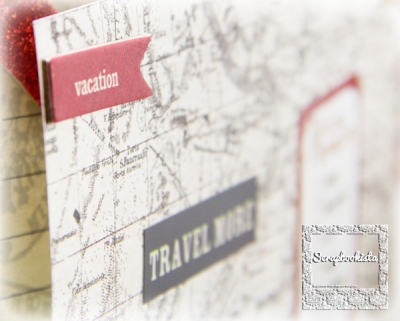
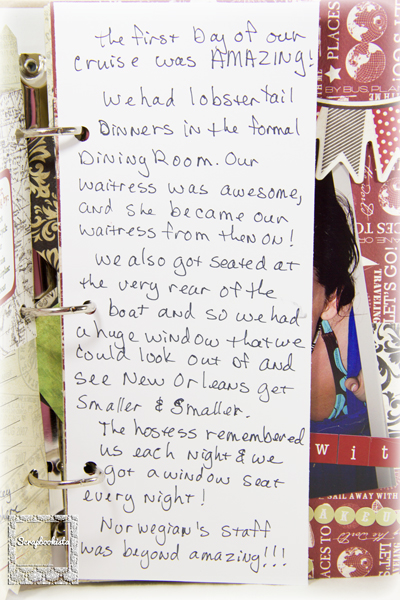
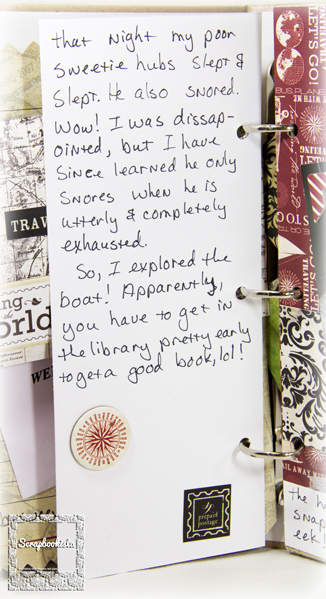
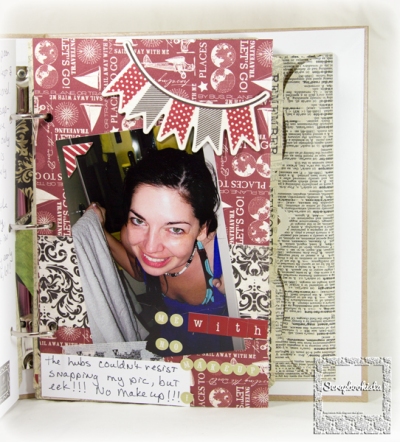
Just now getting to my honeymoon pics! Better late than never, lol! It was a cruise to Central America with stops in Mexico, Honduras and Belize. I decided to use the Carta Bella Well Traveled because it is such a pretty collection. I love the textured paper and the really awesome quality that this collection has.
Honey-Moon-12
This little journal card was perfect to add in as a page. I am a firm believer in using your own handwriting as much as possible. It makes it more personal.
Honey-Moon-11
This is the back side decorated with stickers and chipboard stickers.
Honey-Moon-10
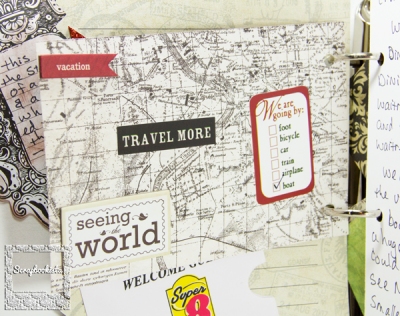
This fun sticker was just perfect with the fun little checklist!
Honey-Moon-09
Honey-Moon-01
I added in a piece of white card stock for journaling.
Honey-Moon-08
I added a embellishments on the backside for fun!
Honey-Moon-07
I love the quality of the chipboard stickers that Carta Bella has.
Honey-Moon-05
This is one of the 12 x 12 papers that I cut down to fit my album.
Honey-Moon-06
This pennant garland is all chipboard!
The final element I wanted to focus on is this chipboard photo corner. Has anyone else noticed the photo corner trend this year? I love the classic, yet trendy look this one has!


You can find these wonderful products, and MANY more at FlamingoScraps.com . Be sure to visit the store, it's chock full of the some great items as well as the latest trends in scrapbooking.
 
Abigail--Scrapbookista

Friday, April 19, 2013

Pink Paisley Cottage Farms - Day without Mischief

For this layout I used Cottage Farms from Pink Paislee. I did not know where I wanted to go with this line since most of it has flowers. But, I picked out a few and  used spray and gesso to get just the right look for my little great nephew, Gabriel with his two new bottom teeth. I haven't done a layout of him so I figured it was about time.
For the background I used some Heidi Swapp Tinsel and Primrose and Maya Road Licorice Twist which all have such rich colors. I am very impressed with this spray and will be getting more of it!!! You can get all the products that I used on this project at Flamingo Scraps. Hope you like my project as much as I loved making it!!


I used the Maya Road Chipboard Hexagon, the largest piece as a template for the cut out in the right hand corner of the canvas. And used some vintage sheet music for filler.


The Prima Tatiana White flowers I used Spice Marmalade and Rusty Hinge and sprayed water on it and the color filled it perfect.


I used a sheet of Pink Paislee Mistables Resist 12×12 Pack thinking that it would be a cool design for the Hexagon cutout. It did not show the design that it cut out. But, I liked it because it was thick and cut really nice.


I used the Pink Paislee Cottage Farms—Paper Goods around the picture which I think made it come out pretty cool...and you get a bunch of it to use.


On this I used the Prima Junk Yard Findings...you will find these on the list at the bottom of the page.


Here I used the Pink Paislee She Art — Mask Vintage Doily with gesso just to give it a light look.


I decided to use a Camera shape from Studio Calico Wood Veneer Cameras I used the Tim Holtz Bronze Distress Paint. Then used one of the Prima Junk Yard Findings pieces for the lens and a single piece of the Maya Road Vintage Jewel Rhinestone Trim – Iridescent Diamond.


Maya Road Small Organza Rose Trim White
Maya Road Trinket Pins Crystals
NEW!!!! Tim Holtz Distress Paints Set
Pink Paislee Cottage Farms — 6×6 Paper Pad
Pink Paislee Luxe Rubons — Copper & Black Confetti
Prima Chalk Fluid Edger Dry Sand
Prima Chalk Fluid Edger Pad – Pastel Brown
Studio Calico Wood Veneer Banners
Studio Calico Wood Veneer Speech Bubbles
Heidi Swapp Color Shine Primrose
Heidi Swapp Color Shine Tinsel
Maya Road Maya Mist Licorice Metallic
Prima Classic Orange Roses
Prima Tiny Junkyard Findings Vintage Trinkets — Gears
Prima Tiny Junkyard Findings Vintage Trinkets — Screw Heads
Prima Tiny Junkyard Findings Vintage Trinkets — Turns & Handles

Don't forget to stop by Flamingo Scraps and pick up some of these goodies before they are all gone. And Check out all the other Design Team's projects for more inspiration.

Have a great day!!
Hugs~
Ramona
My Blog "Designs~by~Ramona"

Wednesday, April 17, 2013

Well Traveled on the Train

Hello Flock-followers!
It's Alicia, here with a layout using Carta Bella's Well Traveled line!  When I saw these papers and all of the trains, I knew it would be perfect for these pictures of my son on the train at Hermann Park here in Houston.  As you can probably tell by the look on his face in this picture, he LOVES the train, and has the cutest little "woo-woo" that he lets out when ever he sees one!
All of the papers in this layout come from the "Well Traveled" collection pack, which comes with both a sheet of accent stickers and one containing THREE alphas!  The "Going on a TRIP" element is available in the set of really cool chipboard elements that coordinate with this line.


Up in the corner of the main picture, I sprinkled some of the Studio Calico "Tiny Stars" wood veneers that I used some of the Heidi Swapp Color Shine (Black Velvet) and an ink pad (the maroon stars) to coordinate with the rest of the layout.


I just loved this "We are going by:" element on the sticker sheet and thought it would be perfect here.  I add some interest in this bottom corner, I used some more of the washi and created two layers of pennants and then added one made out of one of the scraps left over from the layering in the center of the layout and added one of the Studio Calico words from the "Just My Type" wood veneers and another one of the Studio Calico stars.


The striped and train print washi tapes are also part of this collection, and it looks like they are currently sold out in the store, but can be special ordered for you by Suzanne!  Just drop her an email at: flamingoscraps@yahoo.com if you are interested!
Head on over to Flamingo Scraps and grab up some of this awesome collection before it's gone!
Until next time!
Alicia

Monday, April 15, 2013

A Mother's Day Card Challenge!

Good morning, Flockinstas! Melissa, here, with your latest installment of scraptacular fun.

I don't know about you, but I'm always trying to find new ways to use products that I may not have ever really tried before. My only hitch is that if I don't make myself a little mini challenge, those products might not ever get used. Enter my personal challenge for this month with supplies from the Flamingo Scraps store!


Supplies pictured:


Also used:
Kraft cardstock base
Heidi Swapp Vintage Chic Handwritten (for the butterfly) 
Xcut Dies Butterflies (available special order from Flamingo Scraps)
Generic Brown Embroidery Floss

I had to prepare a couple of things for this self challenge... first, I had to cut the butterflies with my Cuttlebug and the Xcut Dies. I'd never used this particular brand of dies before (I've not used most of the dies in my collection, to be honest, because I got my Silhouette not long after procuring my Cuttlebug), but I was pleasantly surprised at how well it cut. I highly recommend it and you should contact Suzanne to order one if you were otherwise on the fence about it. I can see myself making many, many cards with this particular set! I also inked the edges of each piece with the brown chalk ink before gluing them together.

Next, I had to prepare the tape. I love that Flamingo Scraps carries both solid white fabric tape (it handles a little differently than the paper version that I've used on previous projects, and I think it takes ink better than my generic masking tape) and Prima Washi Tape Stamp sets, because I would swear that they were made for each other. The tape is slightly narrower than the stamp, and the stamp is super easy to repeat. Here's a look at it up close:


As you could probably tell by the fact that I picked out some kraft card bases, I wanted to make some cards. I decided that I should get a jump on Mother's Day, so picked that as my theme. I tried to use each item in a different way, but that didn't always work out. However, I think I came up with a nice variety to share with you!

For this first one, I really wanted to try using the embroidery floss as a hanger for my greeting. And if you're worried about the pin sticking someone, you can do like I did and snip the tip off with a set of wire cutters and then sand it down a bit to dull it.  I also cut the tape into leaves to put under the flower, as well as using it as a border.


On the next one, I decided I wanted to use the embroidery floss as scallops and have the butterfly look like it was trying to land on the flower. 


For the third one, I scallop punched the back and used only the grid side of the Just Dots paper. I also wanted my flower to come from the other side, so I had to trim down the stem of the flower to accommodate my design. I also poked the pin through the flower and tried to treat it like I would a corsage. I also trimmed the pin down and sanded the edge on it to make it shorter for the same reason as I did the flower, and tied the embroidery floss around the pin.


And this final card, I popped the butterfly off the card with adhesive foam and tied the flower with the embroidery floss. 


So, there you have it! Sometimes limiting your supply list for multiple projects to the same items is the quickest and easiest way to both get them done and find ways to be creative with your supply use. 

Have a fabulous, flocky day!
 
Melissa

Related Posts with Thumbnails